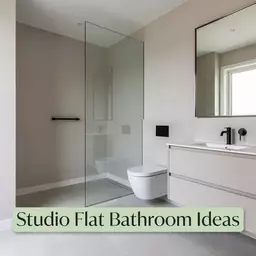
Designing a studio flat bathroom can be a daunting task, especially with limited space. However, you can infuse style and functionality into your tiny oasis with just a few smart choices. Here are 7 transformative ideas to elevate your bathroom's design while maximizing its potential.
Studio Flat Bathroom Wet Room Drain That Removes the Need for a Shower Tray
Transform your tiny bathroom into a stylish wet room oasis.
As an Amazon Associate I earn from qualifying purchases. Affiliate links may earn me a commission at no extra cost to you.
Understanding Wet Room Drains: A wet room drain is an innovative solution for small bathrooms, effectively eliminating the need for a bulky shower tray. This design not only maximizes your floor space but also creates a seamless and modern look. By integrating the drainage system into the floor itself, you achieve a minimalist aesthetic while enhancing the functionality of your space.
Where many people get stuck is understanding the installation needs for a wet room drain. For instance, ensuring a proper slope in your floor is crucial to prevent water pooling. This detail often gets overlooked, leading to soggy spaces and frustrating clean-ups!
- ★Opt for a high-quality wet room drain to prevent clogs and ensure smooth drainage.
- ★Consider using an overflow drain cover, like the Overflow Drain Cover for Deeper Baths, for added functionality.
- ★Maintain a slight slope in the flooring to direct water flow efficiently towards the drain.
⭐ Top Products for Bathroom Drain Solutions
Overflow Drain Cover for Deeper Baths
This overflow drain cover allows for a deeper soak while enhancing your bathroom's functionality.
View on Amazon →Silicone Overflow Drain Cover for Tubs
This silicone cover adjusts water levels, perfect for keeping your tub safe from overflow.
View on Amazon →Waterfall Bathroom Faucet with Drain
This waterfall faucet adds a modern touch while resolving drainage issues effectively.
View on Amazon →💡 Quick Tips:
- Choose a high-quality drain: This prevents clogs and ensures smooth water flow in your wet room.
- Maintain proper floor slope: A slight incline directs water toward the drain, avoiding pooling issues.
- Consider using a stylish drain cover: Options like the Overflow Drain Cover enhance both functionality and design in your bathroom.
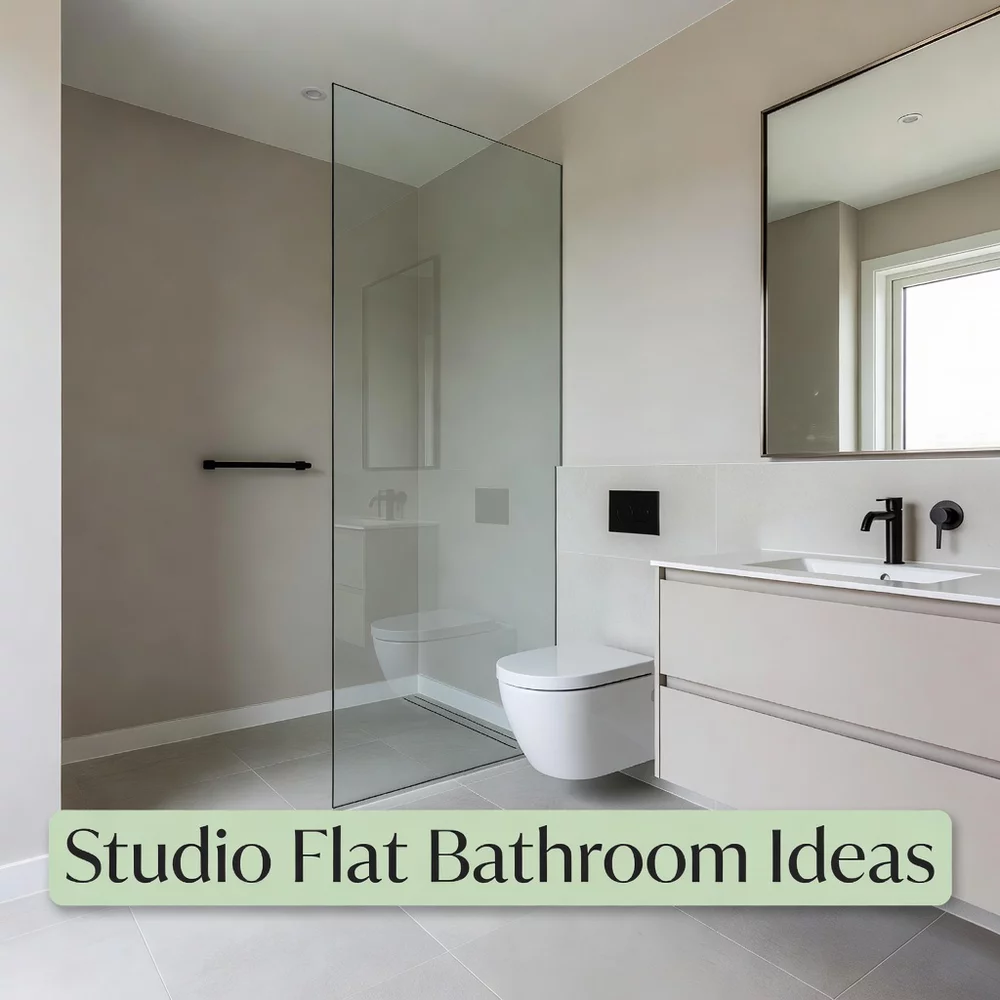
Studio Bathroom Frameless Glass Partition That Keeps the Toilet Zone Private
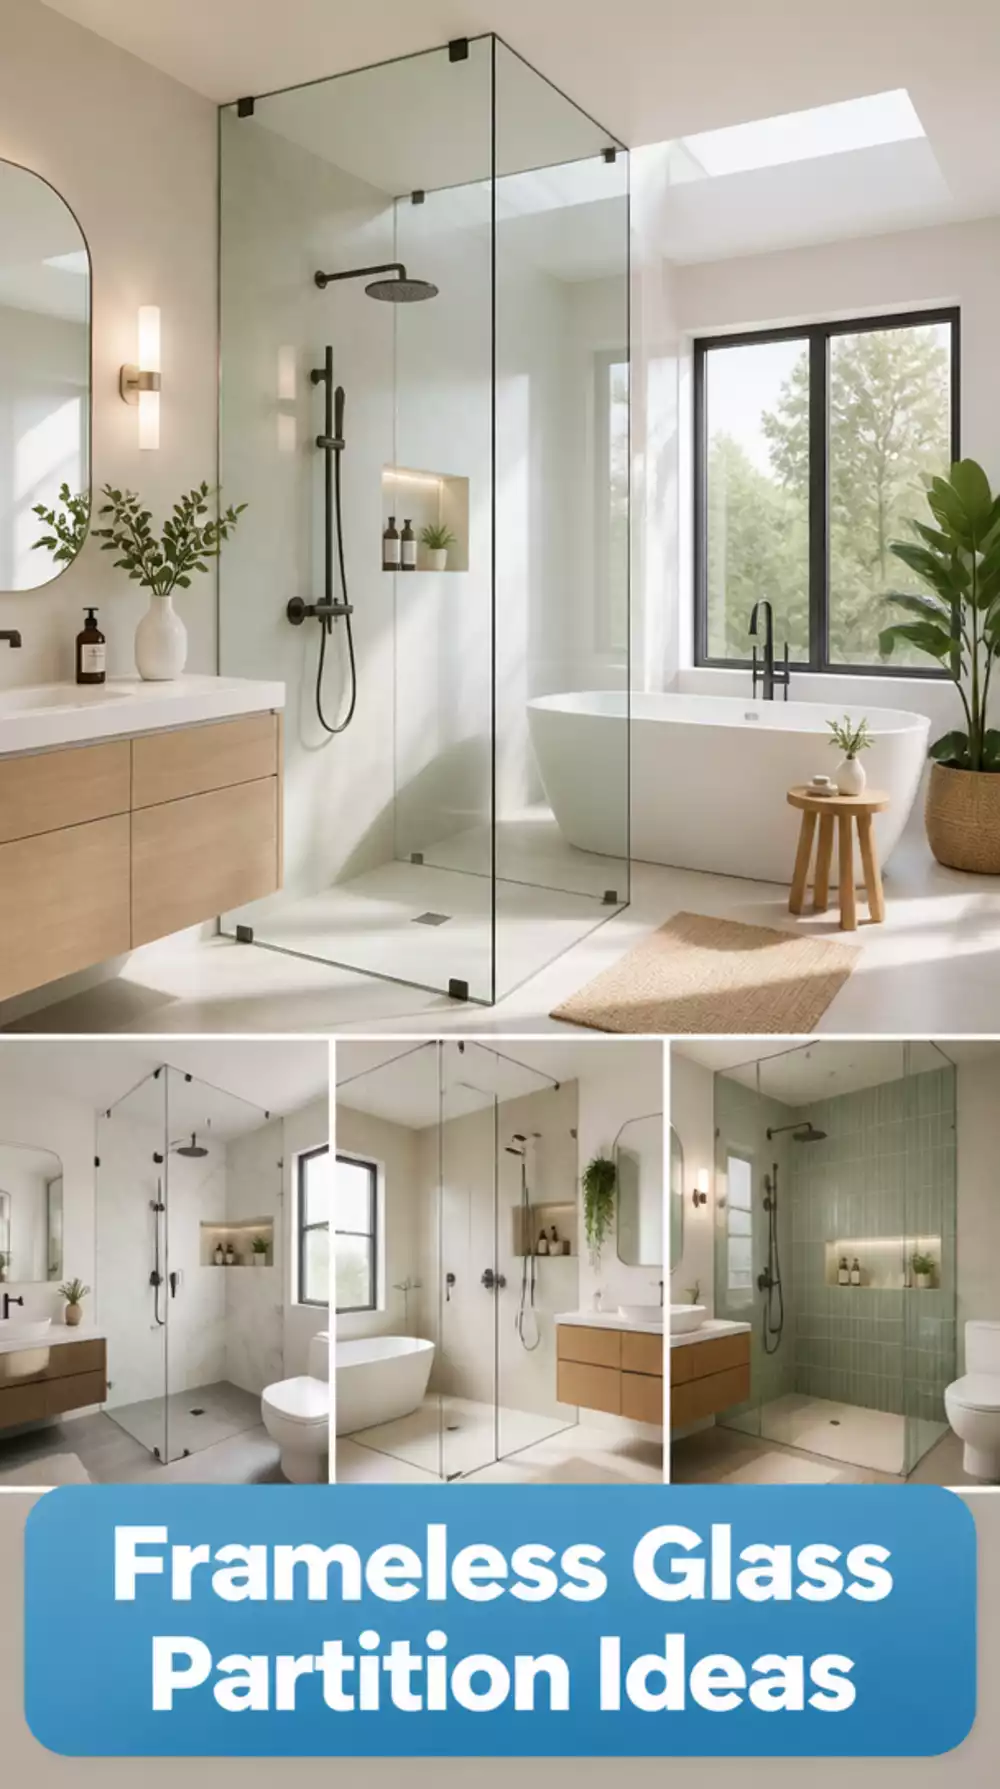
Create an airy feel while maintaining privacy in your compact bathroom
The Impact of Frameless Glass Partitions: Frameless glass partitions offer a stylish way to maintain privacy in open bathroom layouts. They create a visual separation without encroaching on precious floor space, making them perfect for studio flats where every inch counts. Their minimalist aesthetic also enhances the overall design, allowing for a seamless integration with the rest of your decor.
What Most People Overlook about Glass Thickness: When installing a glass partition, many forget to consider the thickness of the glass. Thicker panels not only provide better sound insulation but also enhance durability. A common mistake is opting for thinner glass, which can compromise both privacy and safety in high-traffic areas.
- ★Choose tempered safety glass for durability and safety in your bathroom.
- ★Consider a frameless glass panel like the Frameless Fixed Bath Panel for Showers to blend style and function.
- ★Ensure proper sealing to prevent water leaks and maintain hygiene.
⭐ Top Products for Glass Bathroom Partitions
Fixed Tub Glass Panel with Matte Black Clamps
This sturdy glass panel maintains a dry environment while enhancing overall bathroom style.
View on Amazon →Frameless Fixed Bath Panel for Showers
This elegant glass panel keeps your bathroom tidy while offering a modern look.
View on Amazon →36" W x 75" H Fixed Shower Glass Panel
This taller glass panel provides superior splash protection, ideal for small showers.
View on Amazon →💡 Best Practices:
- Choose Clear Glass: Select clear, tempered glass to enhance light flow and visual openness.
- Pick the Right Size: Ensure the glass partition height matches your ceiling for a seamless look.
- Integrate with Decor: Coordinate the glass style with existing fixtures for a cohesive design.
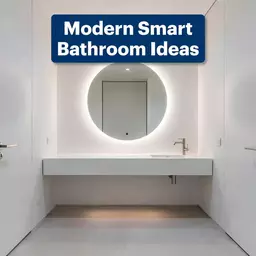
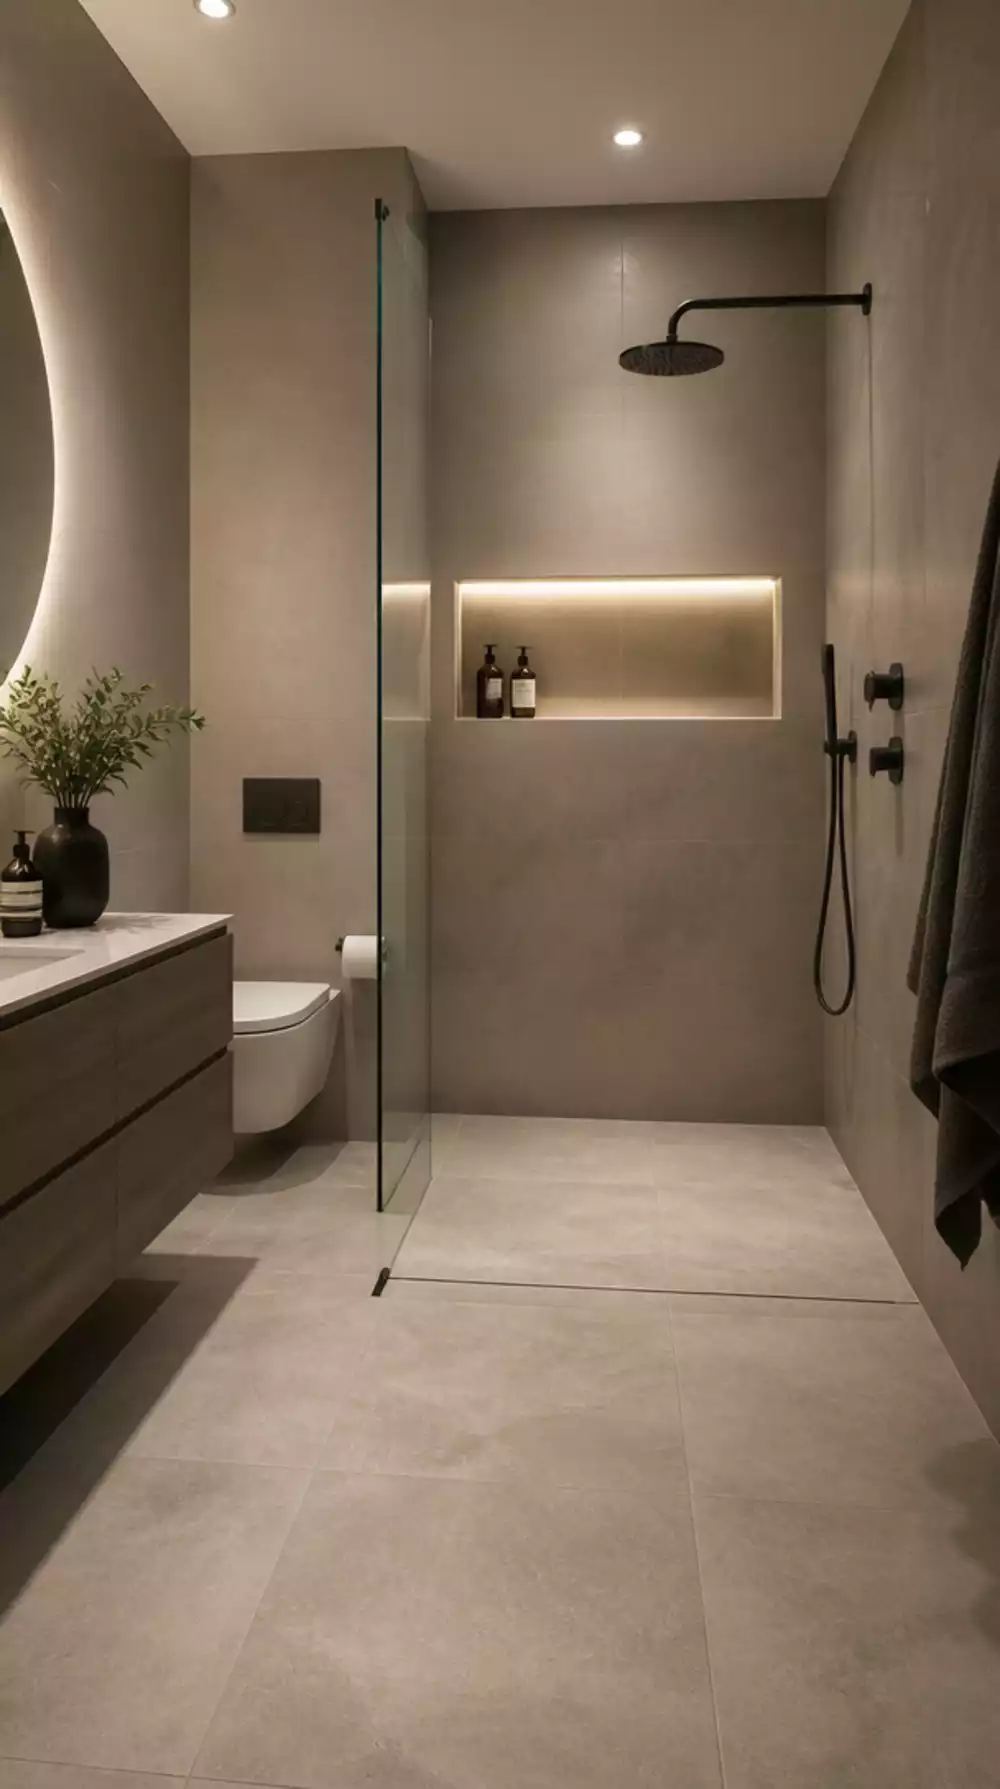
Studio Flat Bathroom Wall-Hung Toilet and Vanity That Free Up Every Floor Inch
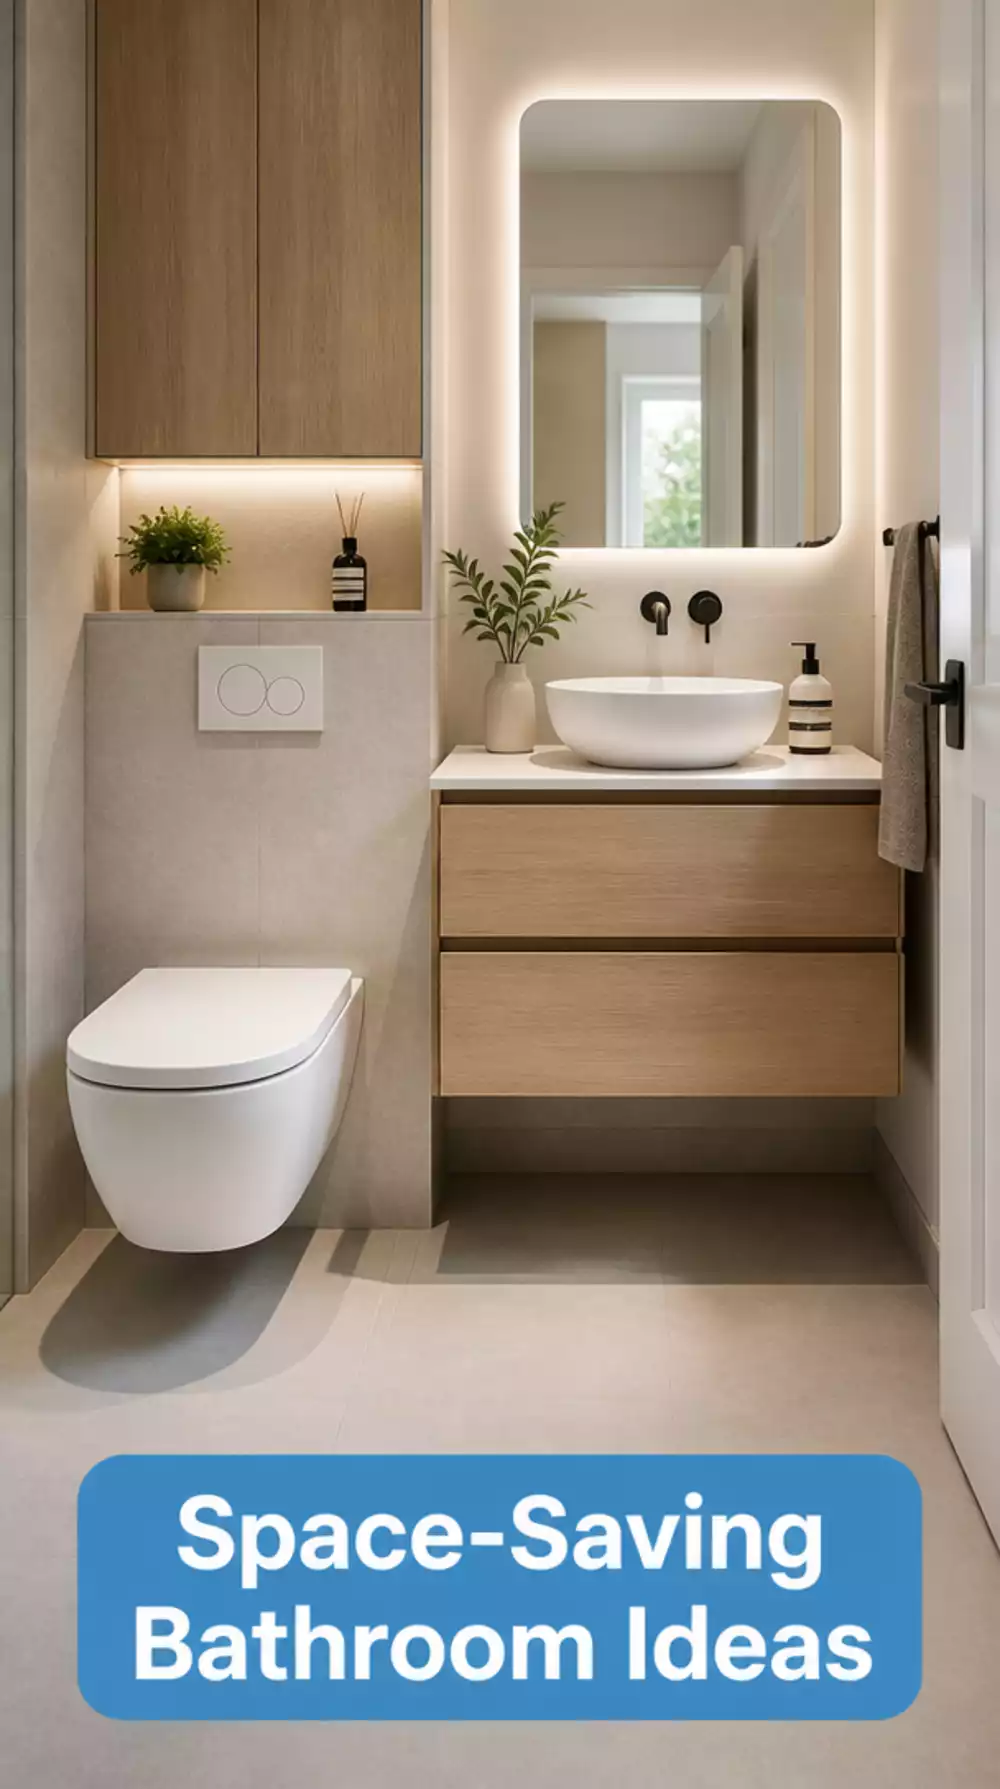
Optimize every inch of your tiny bathroom with smart design choices.
The Benefits of Wall-Hung Toilets and Vanities: In a studio flat, maximizing floor space is crucial, and wall-hung fixtures offer a stylish solution. These installations create a sense of openness while making cleaning a breeze, as it’s easier to access the floor beneath them. They also come in various designs, ensuring a contemporary look that complements your overall space.
What people rarely consider is the plumbing requirements for wall-hung fixtures. It’s easy to overlook the need for a strong support system. Many assume installation will be straightforward, but without proper reinforcement, you could face complications later. Ensuring your walls can support these fixtures is essential for longevity.
- ★Choose a wall-hung toilet that matches your bathroom style for a cohesive look.
- ★Consider a wall-mounted vanity to keep the floor visible and enhance the illusion of space.
- ★Ensure proper plumbing and support structure during installation for durability.
⭐ Top Products for Space-Saving Toilets
Standing Toilet Paper Holder with Storage
This toilet paper holder keeps rolls accessible, enhancing your bathroom's organization without clutter.
View on Amazon →Super Absorbent U-Shaped Toilet Rug
This plush rug adds comfort around a wall-hung toilet while enhancing bathroom style.
View on Amazon →3 Tier Freestanding Towel Rack with Shelf
This towel rack optimizes storage and keeps your small bathroom organized and stylish.
View on Amazon →💡 Quick Tips:
- Choose a wall-hung vanity: This maximizes floor space while adding a modern touch.
- Consider plumbing needs: Ensure your walls have the right support for wall-hung fixtures.
- Opt for compact designs: Select fixtures that fit snugly in your layout, enhancing functionality.
Studio Bathroom Large Mirror That Reflects the Bedroom and Doubles the Space
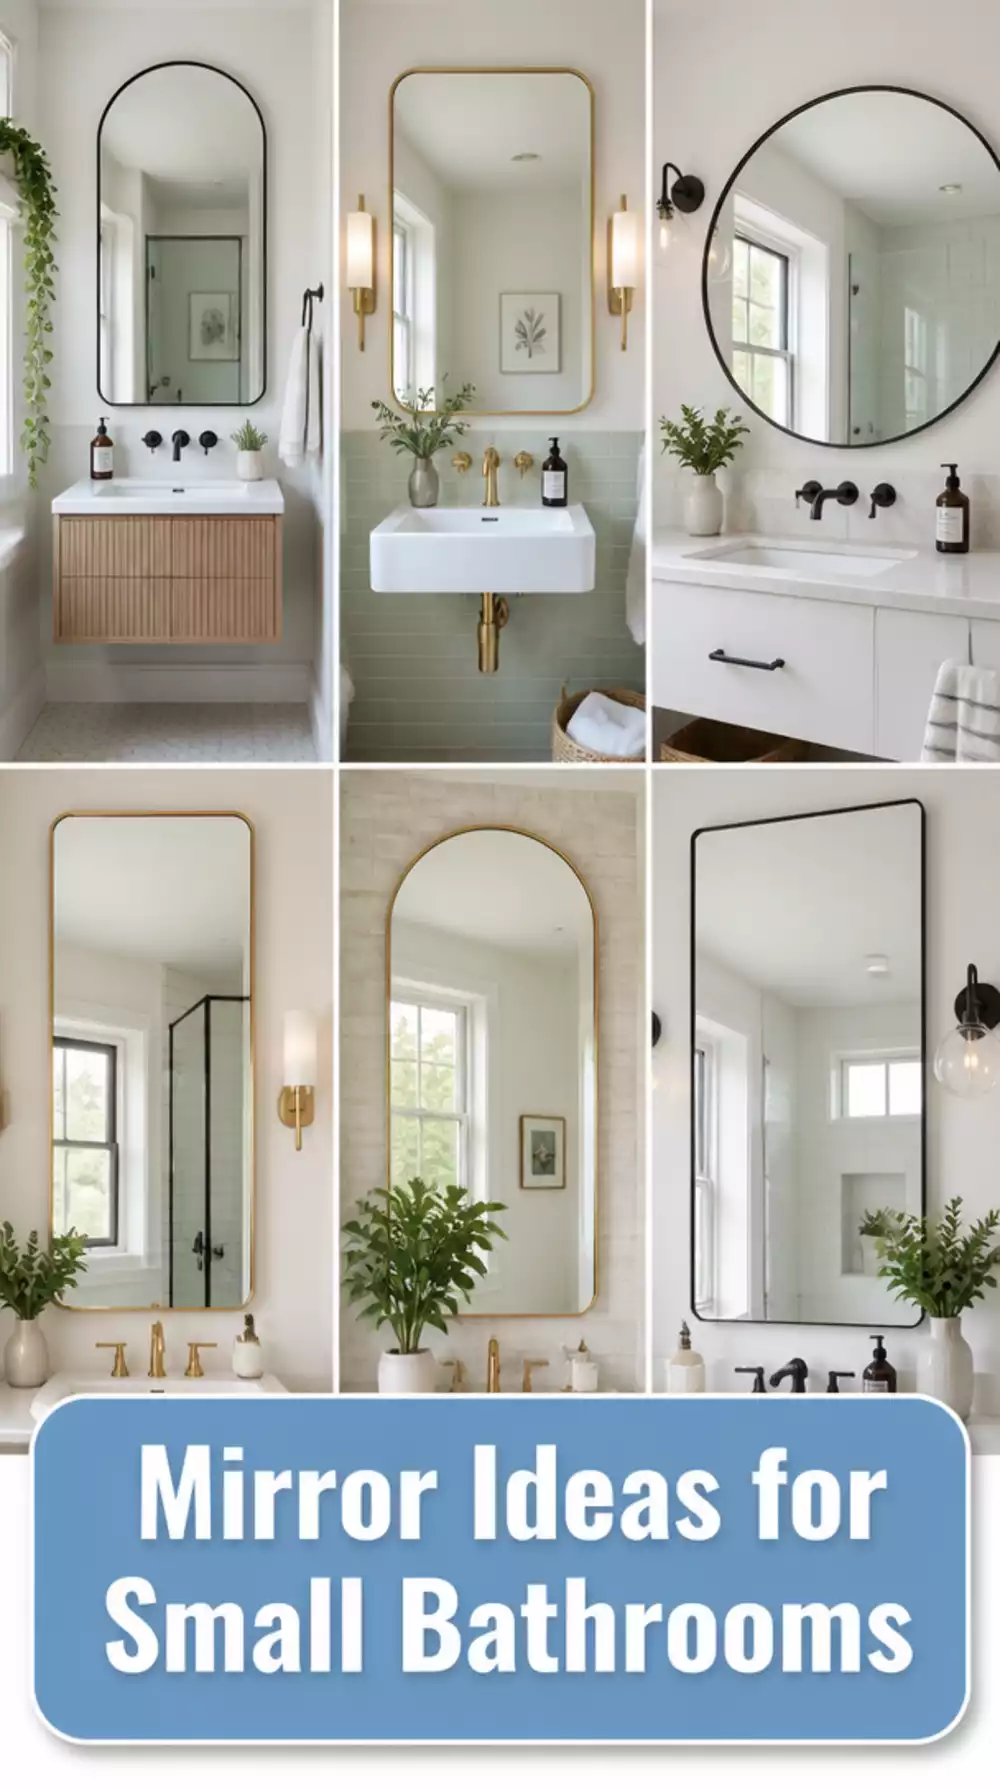
Transform your tiny bathroom with a strategic mirror placement.
How a Large Mirror Enhances Your Studio Bathroom: Mirrors can work wonders in small spaces by creating the illusion of depth and light. A well-placed large mirror not only visually expands your bathroom but also reflects natural light, making the area feel more airy and open. Opt for mirrors that connect to your bedroom decor for an integrated look.
What People Rarely Consider is the power of mirror placement in small bathrooms. For instance, positioning a mirror across from a window can maximize natural light, enhancing brightness and spaciousness. Many overlook this tactic, but it can transform the overall ambiance, making your studio flat feel less cramped and more inviting.
- ★Choose a full-length mirror to enhance functionality and style in one.
- ★Consider mirrors with built-in storage for maximizing practical space.
- ★Avoid cluttering the mirror area; keep it clean and minimal for best effect.
⭐ Top Products for Elegant Mirrors
Full Length Floor Mirror with Stand
This stylish mirror enhances your bathroom's appearance while being functional and versatile.
View on Amazon →Full-Length Acrylic Wall-Mounted Mirror
This shatterproof mirror is perfect for homes with children, offering both safety and style.
View on Amazon →Frameless Bathroom Mirror Cabinet
This mirror cabinet provides storage while enhancing the style of your small bathroom.
View on Amazon →💡 Quick Tips:
- Position mirrors across from windows: This maximizes natural light and enhances the illusion of space.
- Consider oversized mirrors: They can create a striking focal point while expanding the visual area.
- Opt for frameless designs: These provide a sleek, modern look and help maintain an airy feel in your bathroom.
You're making wonderful progress transforming your studio bathroom into a designed oasis. The effort you're putting into these tiny spaces truly pays off, creating a sense of calm and expanded living. It's about finding clever solutions that work for you, not striving for unattainable perfection.
💡 What Helps Most:
- Consider smart storage ideas to keep essentials neatly tucked away.
- Light colors enhance any small area, making it feel more open.
- Strategic mirror placement makes a huge difference in perceived size and brightness.
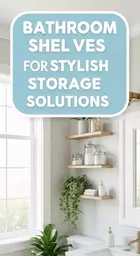
Small Studio Bathroom Neutral Tile That Reads as Continuous with the Main Room
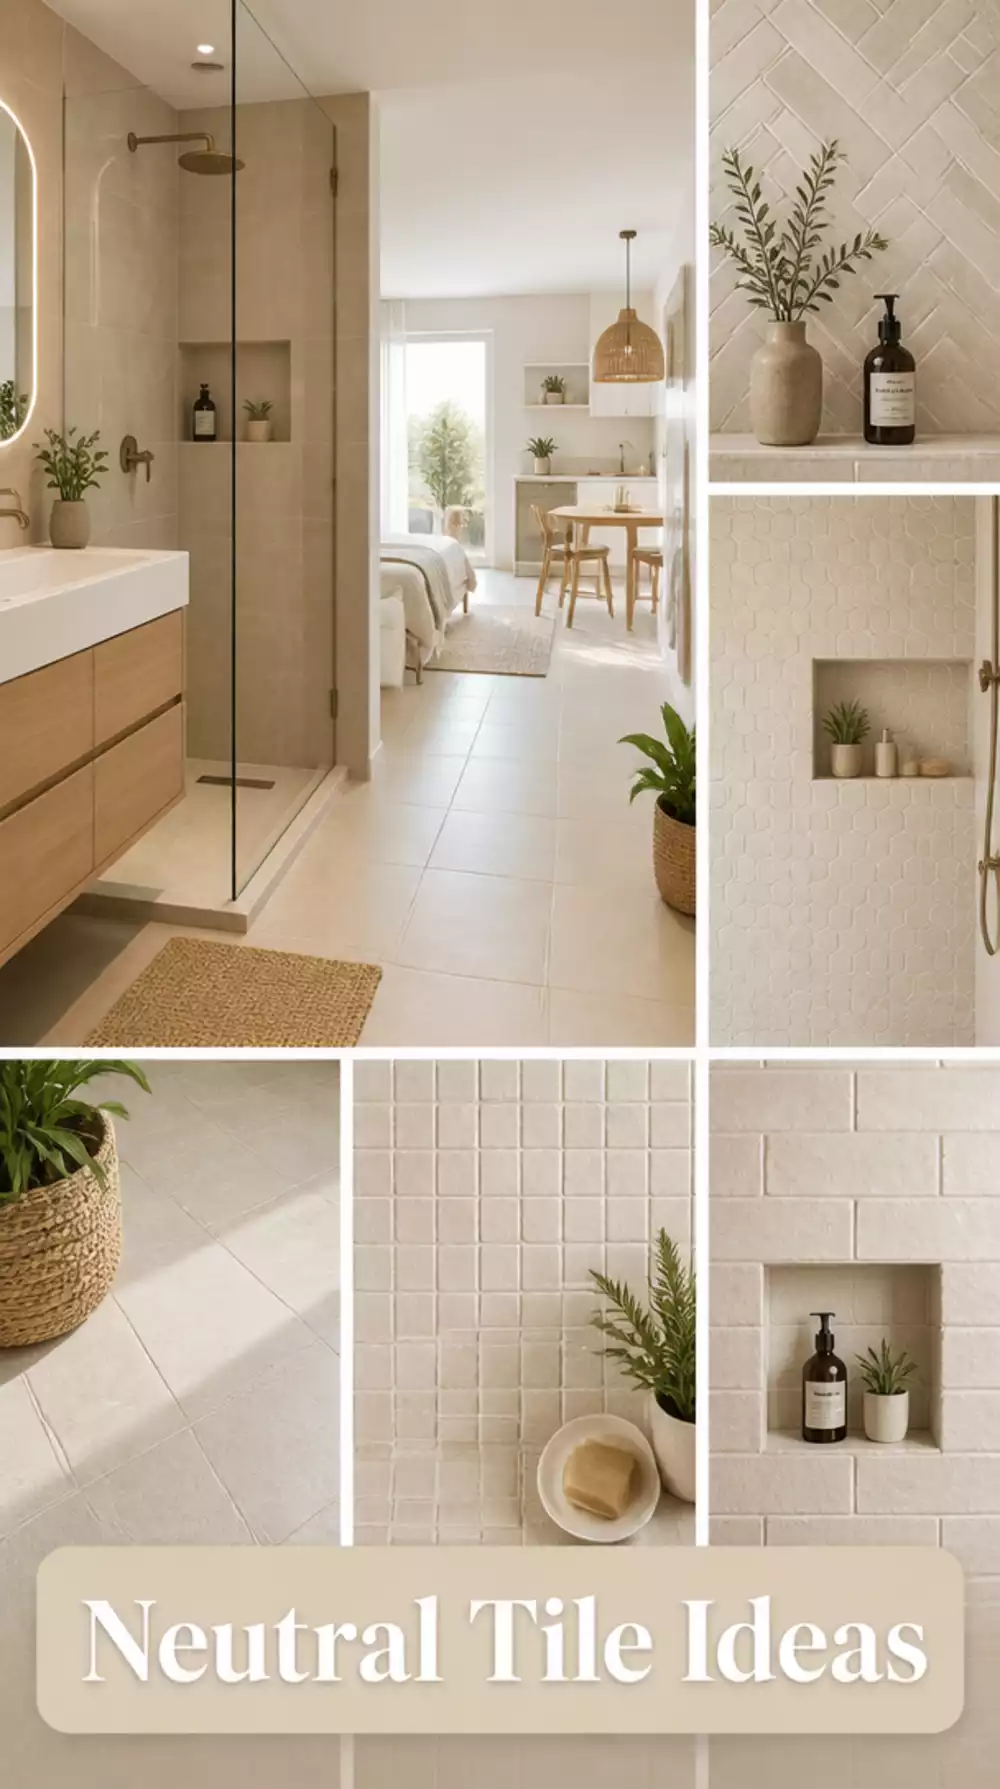
Transform your tiny space with seamless tile designs
The Impact of Neutral Tile Choices: Using neutral tiles in your small bathroom can create a visually unified space, making it feel larger. A continuous tile design helps blend the bathroom with the main room, enhancing the overall aesthetic appeal and flow of your studio flat.
What Most People Overlook: Many underestimate the power of tile size and color in establishing a cohesive look. For instance, large format tiles can minimize grout lines, giving the illusion of a more spacious area. Consider how a single tile style or color can make transitions between rooms effortless and stylish.
- ★Choose tiles in light colors to reflect light and create a more open atmosphere.
- ★Select large format tiles to minimize grout lines and enhance continuity.
- ★Consider peel-and-stick options for an easy, no-mess installation that updates your space.
⭐ Top Products for Neutral Bathroom Tiles
Adhesive Peel and Stick Wall Tiles
These self-adhesive tiles provide a stylish update with no complicated installations.
View on Amazon →3D Peel and Stick Backsplash Tile
This easy-to-install tile visually expands your bathroom space while adding style.
View on Amazon →3D Adhesive Peel and Stick Backsplash
Ideal for a quick upgrade, this backsplash tile adds modern appeal effortlessly.
View on Amazon →💡 Quick Tips:
- Choose light, neutral tiles: They reflect light and create an airy atmosphere in small spaces.
- Opt for larger tiles: Larger formats reduce grout lines, enhancing the feeling of continuity.
- Consider peel-and-stick tiles: These are perfect for easy installation and a quick style update without the mess.
Studio Flat Bathroom Slim Ladder Towel Rail That Fits a 20cm Gap Between Walls

Stylish towel storage in compact spaces made easy.
Why a Slim Ladder Towel Rail Works Wonders: In narrow spaces, every inch counts. A slim ladder towel rail not only fits in a tight 20cm gap but also maximizes vertical space, creating a stylish storage solution. Its ladder design allows for easy access to towels while maintaining a clean aesthetic that complements any decor.
Where Most People Get Stuck: It's common to overlook weight distribution when hanging towels on a slim rail. Many people don’t realize that evenly spacing towels prevents tipping and keeps the rail stable. For example, hanging heavier towels at the bottom and lighter ones above helps maintain balance.
- ★Choose a towel rail that matches your bathroom's style and maximizes vertical space.
- ★Install wall-mounted models to save floor space and enhance stability.
- ★Opt for a freestanding option for mobility and versatile towel organization.
⭐ Top Products for Space-Saving Towel Racks
Narrow 3-Tier Towel Storage Rack
This slim design maximizes vertical space, perfect for narrow areas in your bathroom.
View on Amazon →Self-Adhesive Bamboo Towel Holder
This eco-friendly towel holder fits seamlessly into any bathroom decor style.
View on Amazon →40 Inch Freestanding Towel Rack
This towel rack’s swivel arms offer organized drying while saving valuable space.
View on Amazon →💡 Quick Tips:
- Choose wisely: Select a towel rail that complements your bathroom's overall style.
- Mount securely: Install wall-mounted models for enhanced stability and a sleek look.
- Maximize storage: Utilize vertical space effectively by arranging towels in a balanced manner.
The Studio Bathroom Single Colour Trick That Makes One Room Feel Like Two
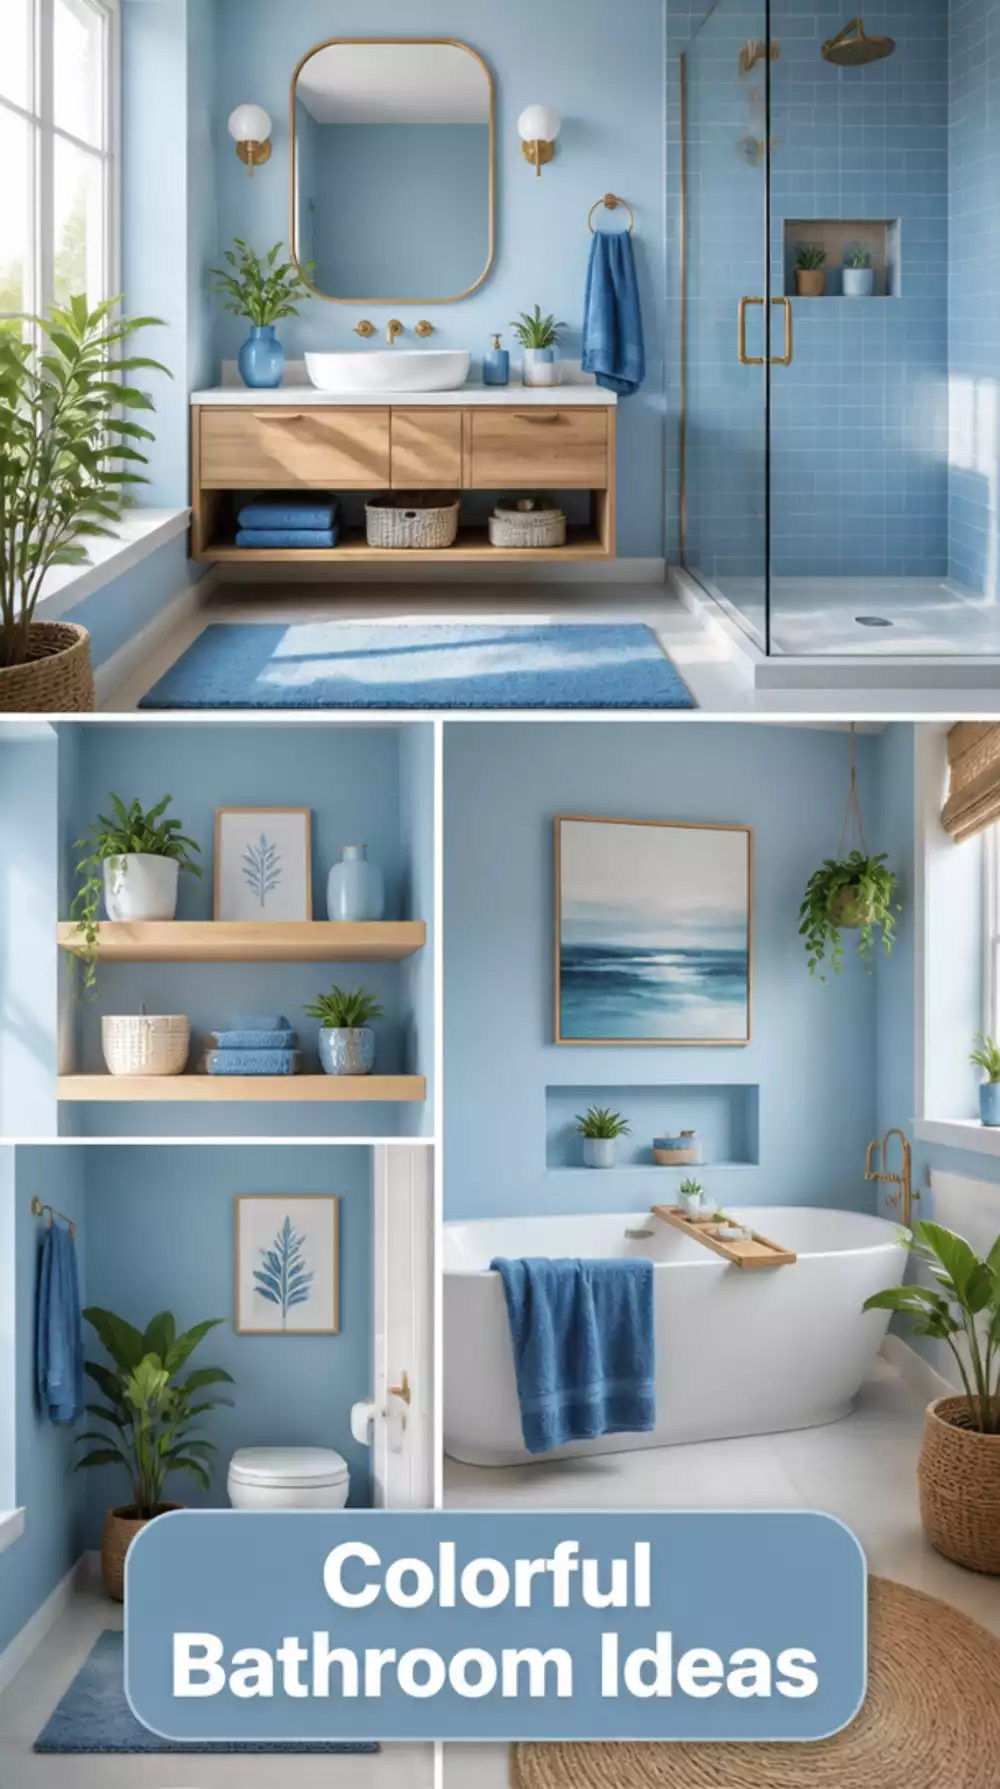
Transform your bathroom with a cohesive color palette for a spacious feel.
How the Single Colour Trick Works: Utilizing a single color palette throughout your studio bathroom can significantly enhance the perception of space. By selecting shades that flow across walls, fixtures, and accessories, you create a seamless design that visually expands the area, making it feel more harmonious and open.
A subtle issue that adds up is overlooking the impact of color variations. Many people stick to one hue, missing the beauty of incorporating different shades of the same color. For example, pairing light and dark tones can add depth while still maintaining a unified look. This simple shift can transform your bathroom into a stylish retreat.
- ★Experiment with different shades of one color to enhance interest.
- ★Incorporate textured materials like towels or rugs for added depth.
- ★Consider a statement piece, like a shower curtain, to unify the look, such as the Boho Abstract Shower Curtain Set.
⭐ Top Products for Colorful Bathroom Decor
Boho Abstract Shower Curtain Set
This artistic shower curtain set adds a modern touch and enhances your bathroom's overall decor.
View on Amazon →Metallic Paint Collection in Champagne
This versatile paint adds a shimmering finish, perfect for custom accents in your bathroom.
View on Amazon →Satin Warm Silver Metallic Paint
This premium metallic paint enhances decor with elegance, ideal for any bathroom design.
View on Amazon →💡 Quick Tips:
- Use one base color: Choose a primary color for walls, fixtures, and decor for unity.
- Mix shades: Incorporate different shades of the same color for added depth and interest.
- Accent with textures: Use textured materials like rugs and towels to enhance the cohesive look.
You now have a variety of practical ideas to elevate your tiny bathroom's design and functionality. Begin with what feels manageable and gradually introduce changes that suit your unique space.
Your bathroom can truly reflect your style and meet your needs with each thoughtful adjustment, making your daily routine more enjoyable. Embrace this journey toward a beautifully designed bathroom that supports your lifestyle.